- May 29, 2020
- Posted by: Radhakrishnan N
- Category: Power Apps
Power Apps is a suite of apps, services, connectors and data platform which enables users to build feature-rich, custom business apps without writing code
Types of Power Apps:
- Canvas
- Model-driven
- Portal
Here we are going to see canvas app creation with One drive data in different methods
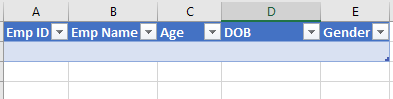
Prepare One drive Data:
Create an Excel with below columns and upload that file in One drive location.
Power Apps Sign in:
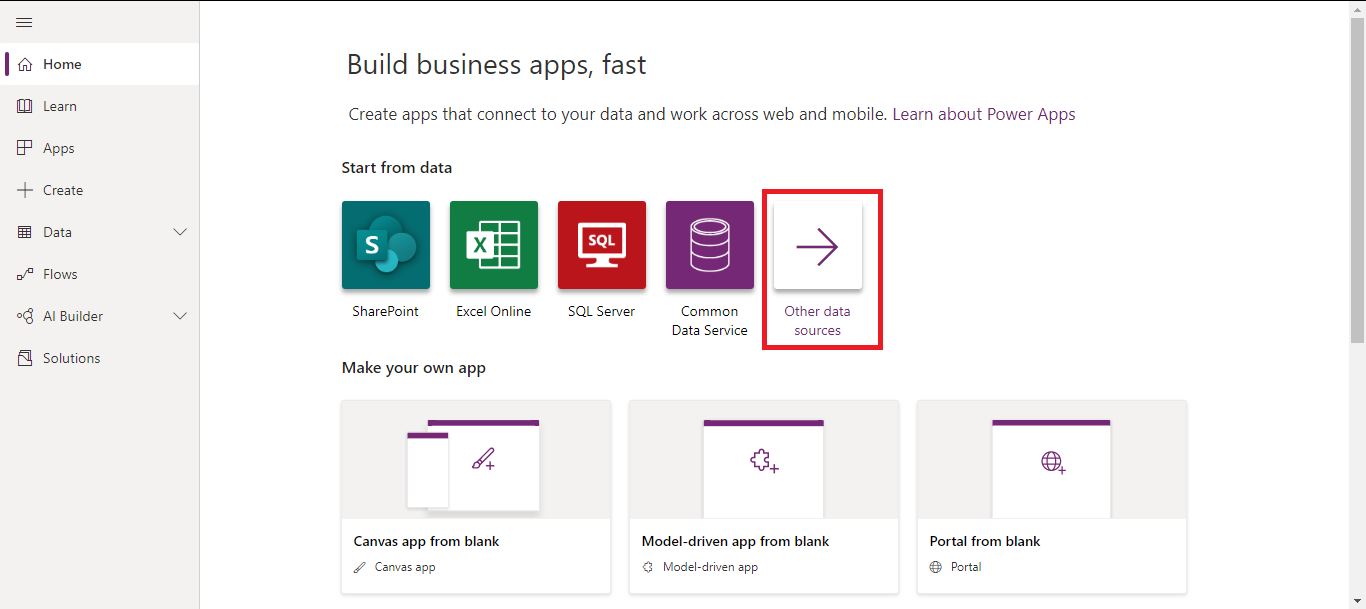
After signing into power apps, we can see the below landing page.
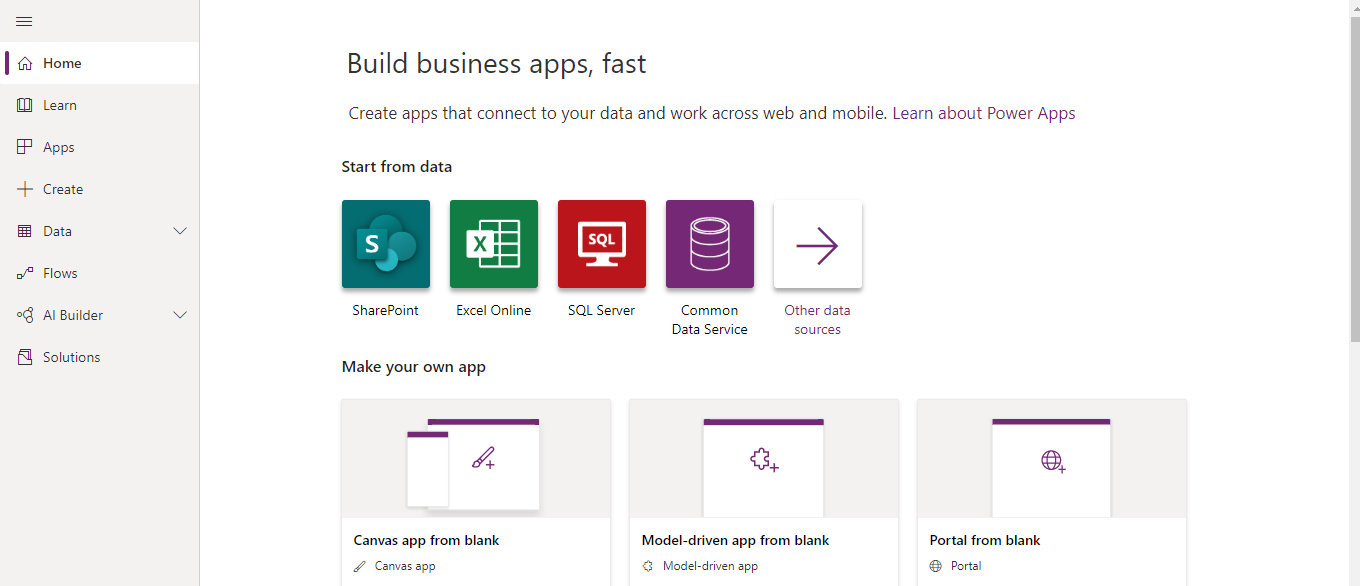
In this, we have Two sections
- Start from Data
- Make your own app
Click Canvas app from section 2
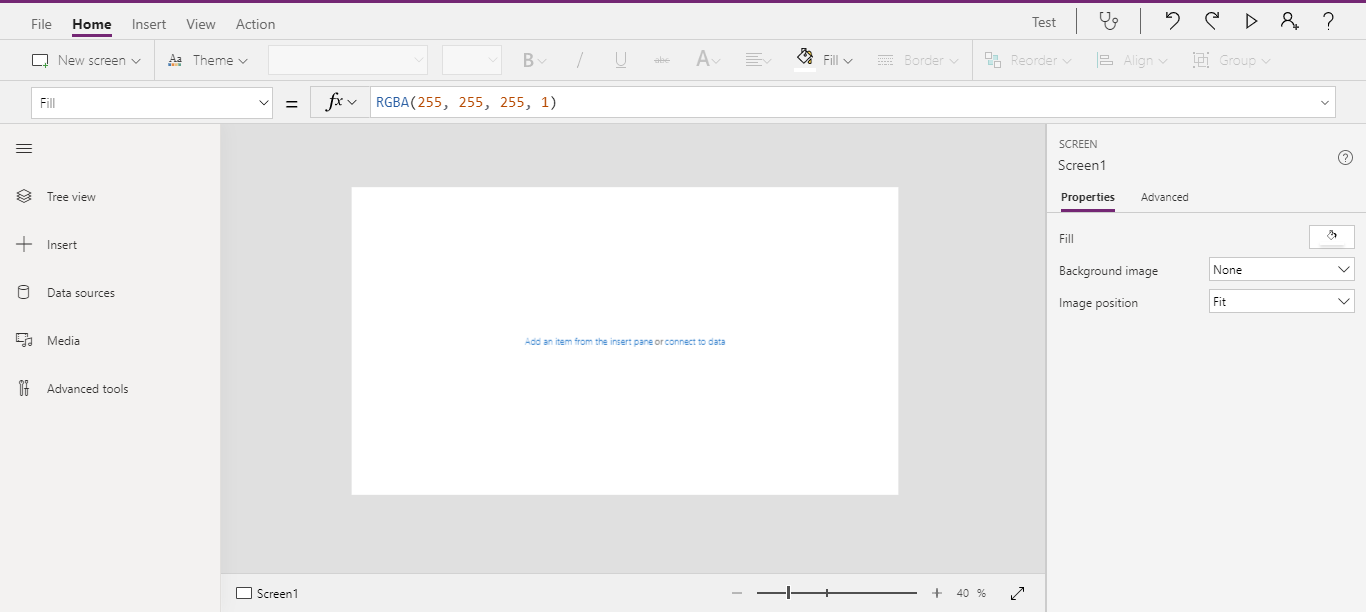
This will redirect to Power apps Studio where we can create your own layout.
Below is the power apps studio landing page.
Click Data sources Pane and go to connectors
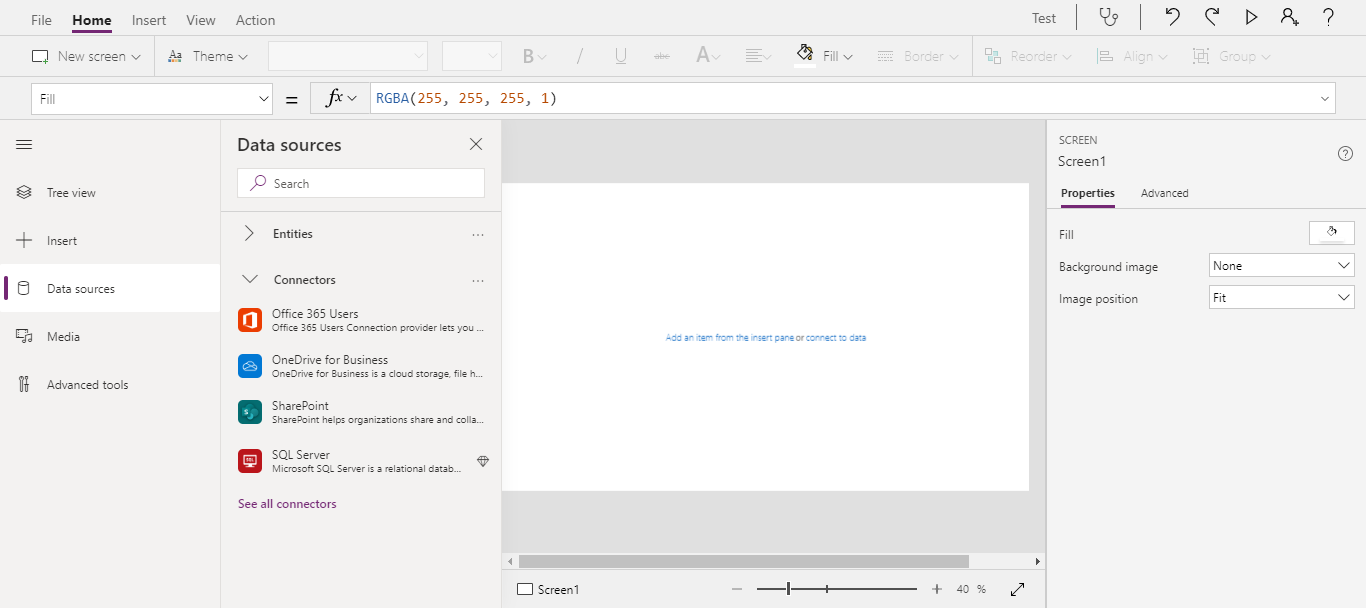
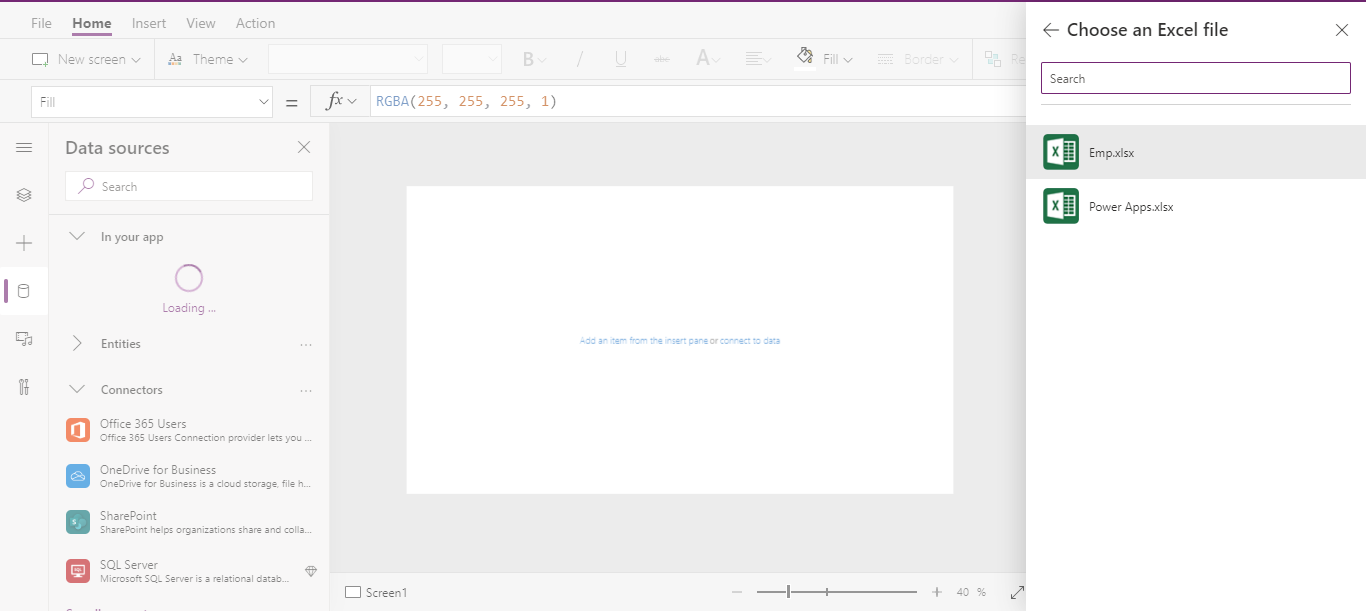
Here we are going to use One drive for business data.
Click One drive for Business and sign and create connectors.
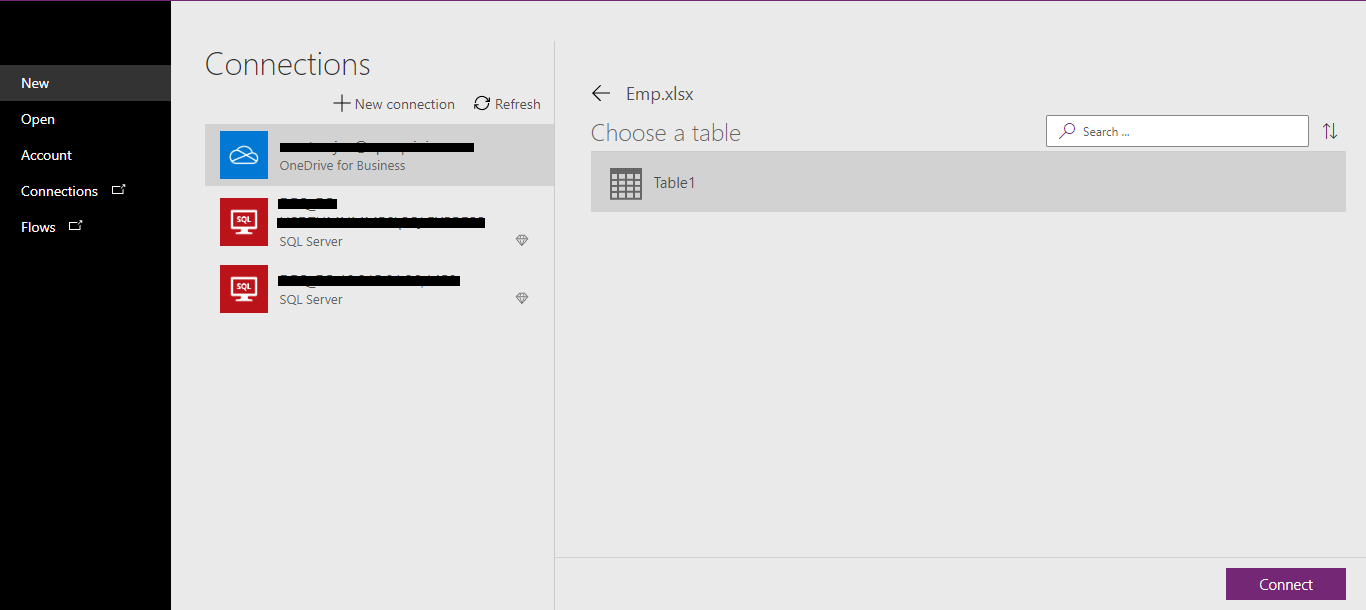
After a successful connection, Power apps will show the available files in one drive.
Here I am going to use the emp.xlsx file.
After selecting file, it will show the table available in .xlsx file.
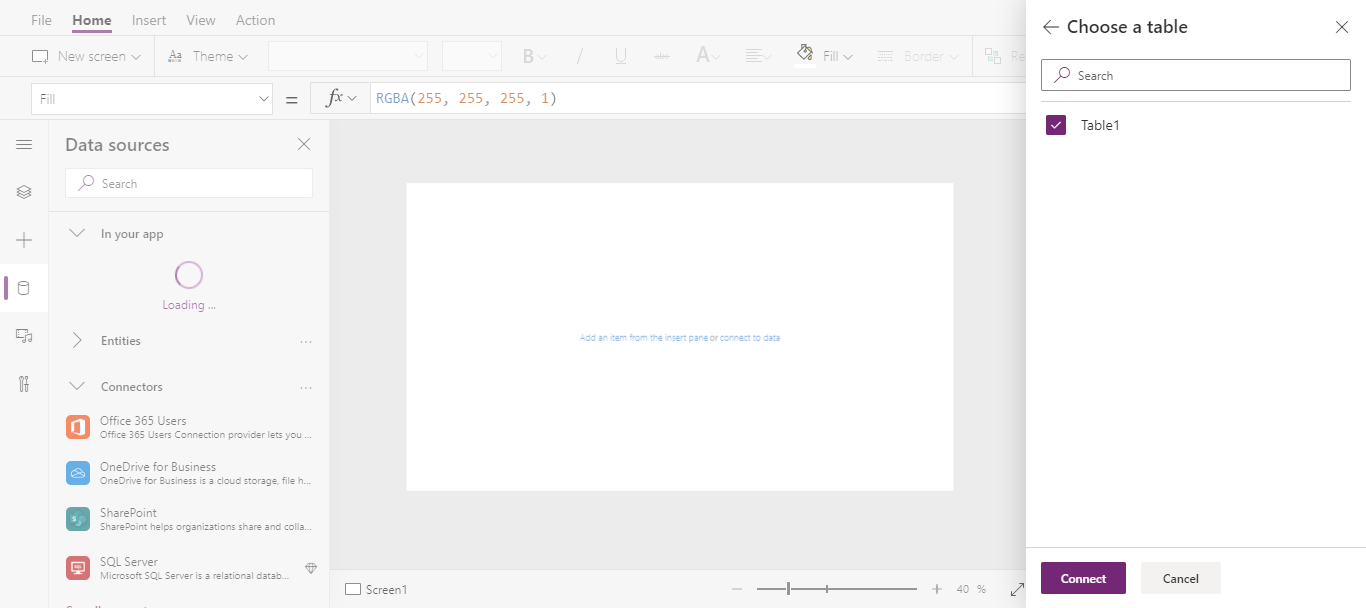
Click Connect
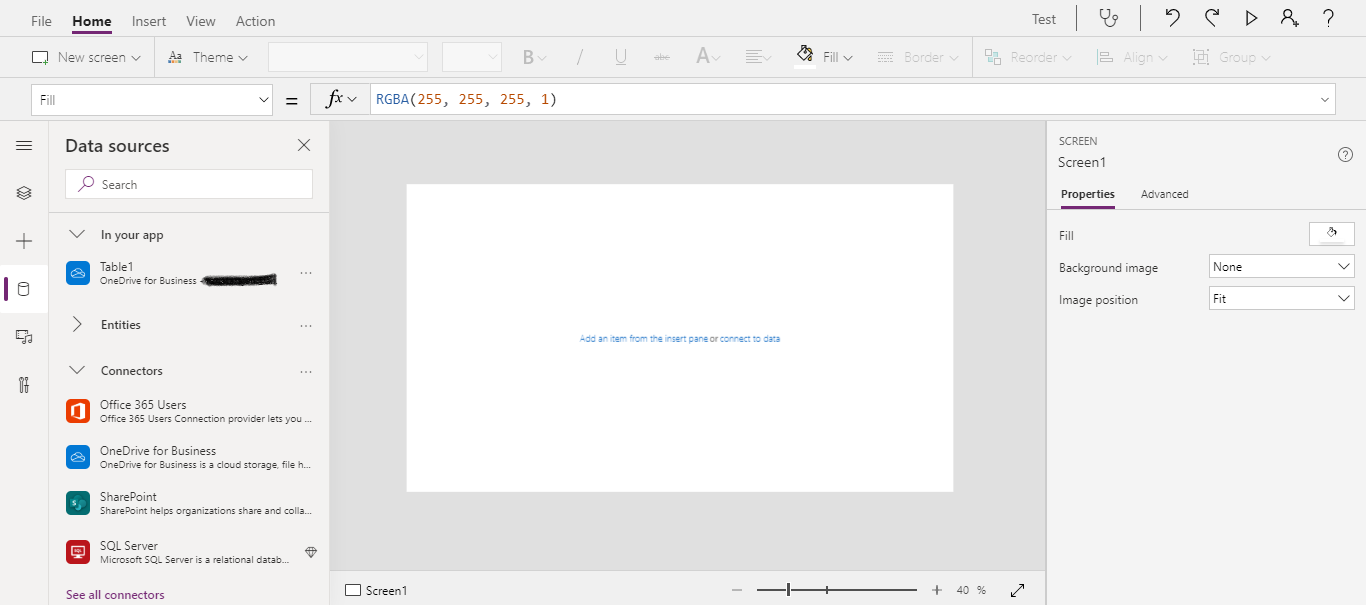
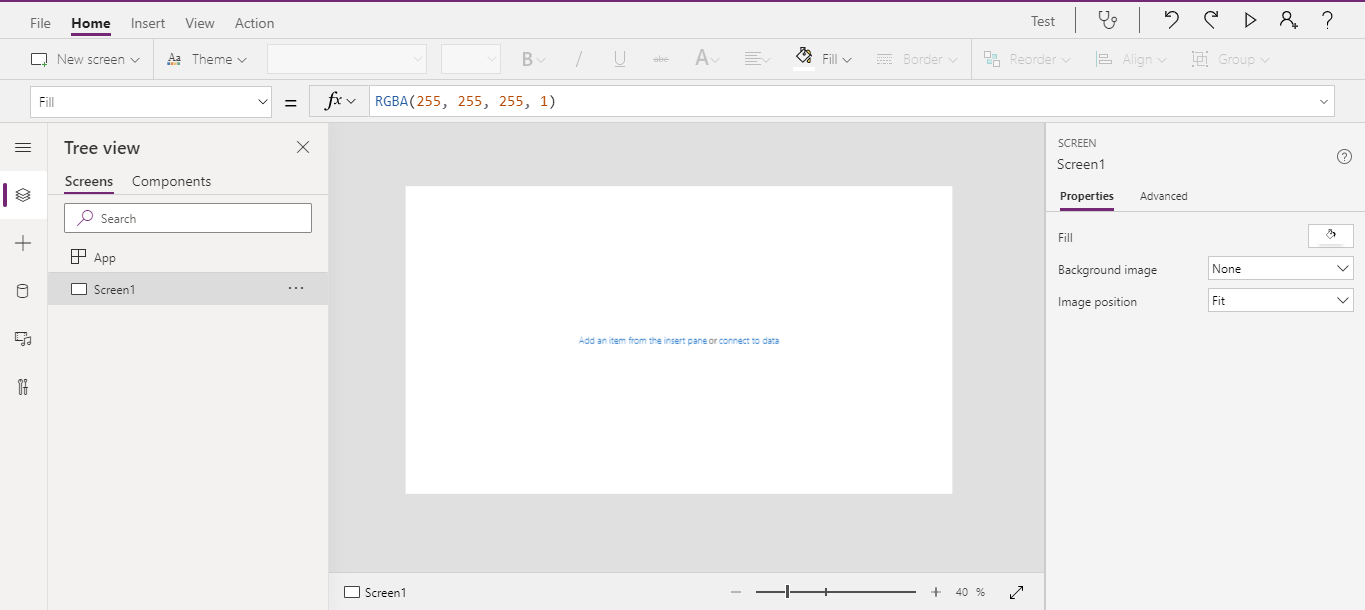
Navigate to Tree view to create Screens for app
Here only one screen is created, so we need to create our own layout like Screens, actions, buttons, control scripts, so it’s quite difficult.
To avoid this complication, we will use the second method to create an app, in this method all the browse screens, buttons, control scripts are created automatically.so it will reduce the manual efforts in the apps Creation.
Method 2:
Instead of creating a canvas app from section 2, start from the data option in the section 1.
Click One drive for Business to connect data

Connect the required Table
Click Connect
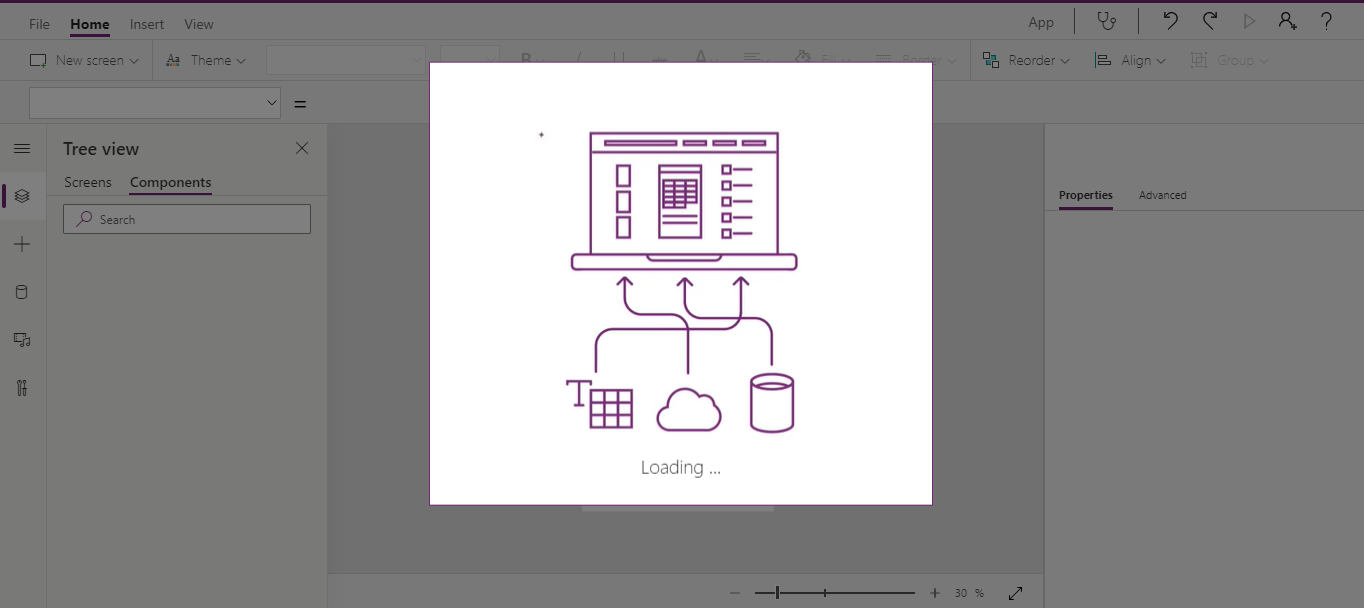
while loading,Power apps will create all the required screens,buttons,Scripts in Background.
After the Loading completed, all the Screens are created automatically.
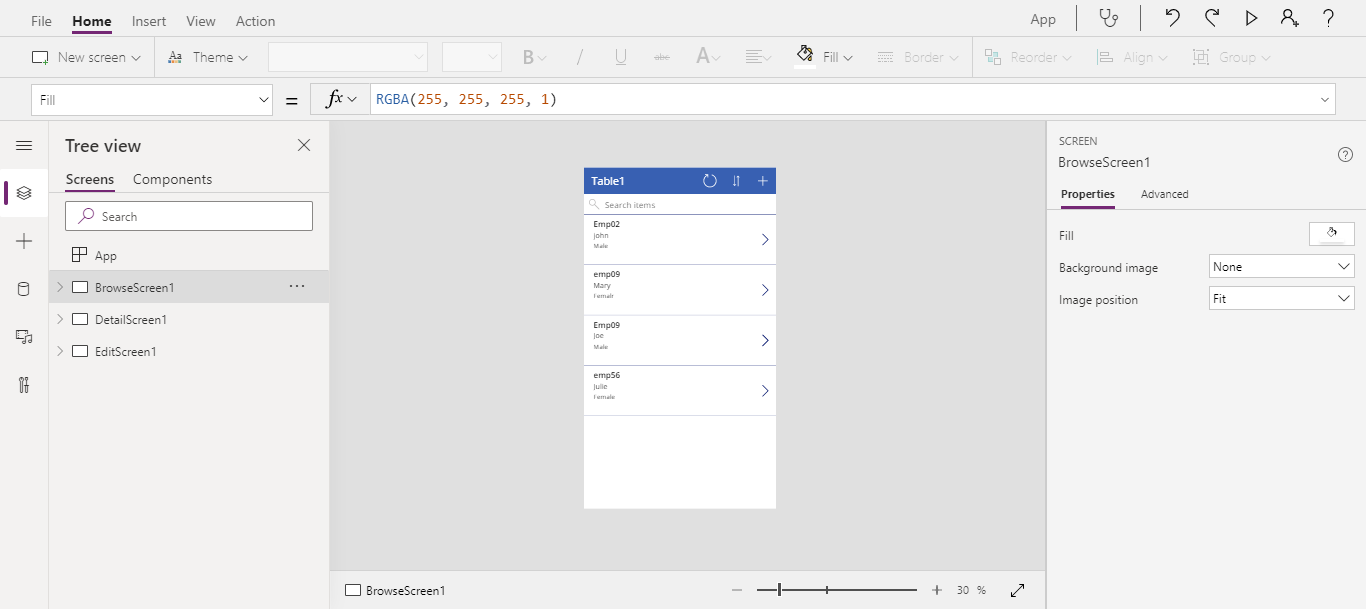
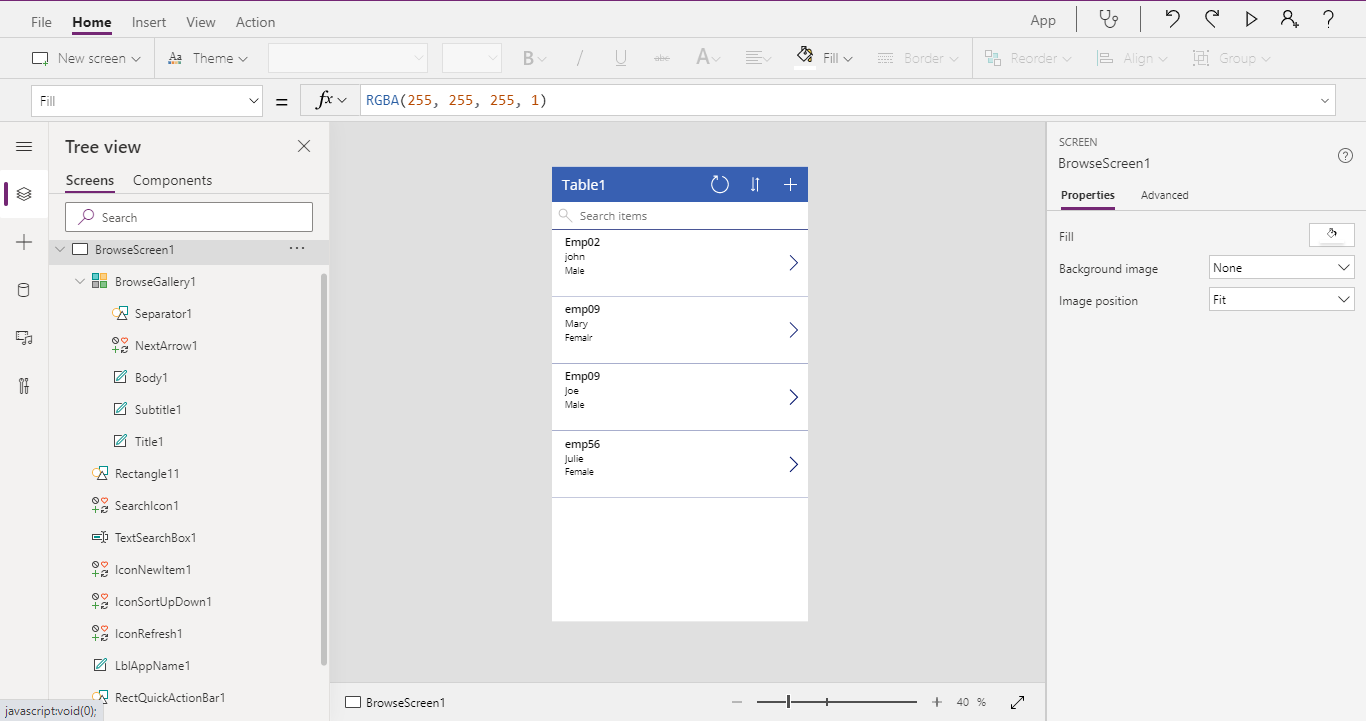
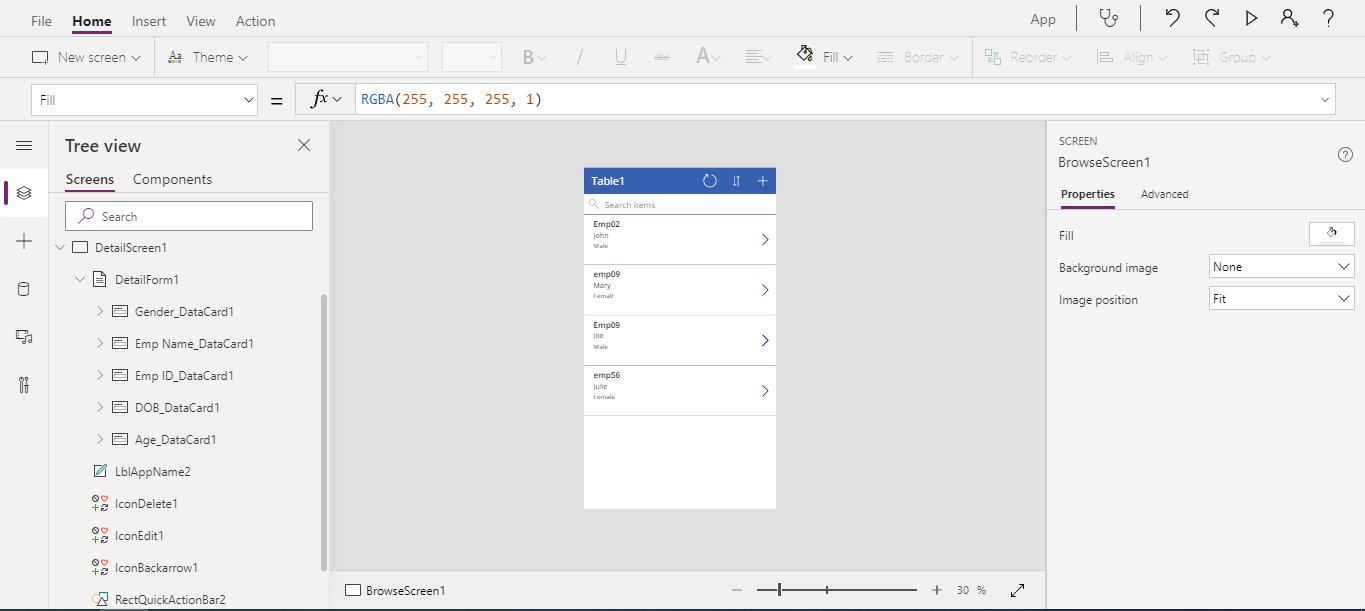
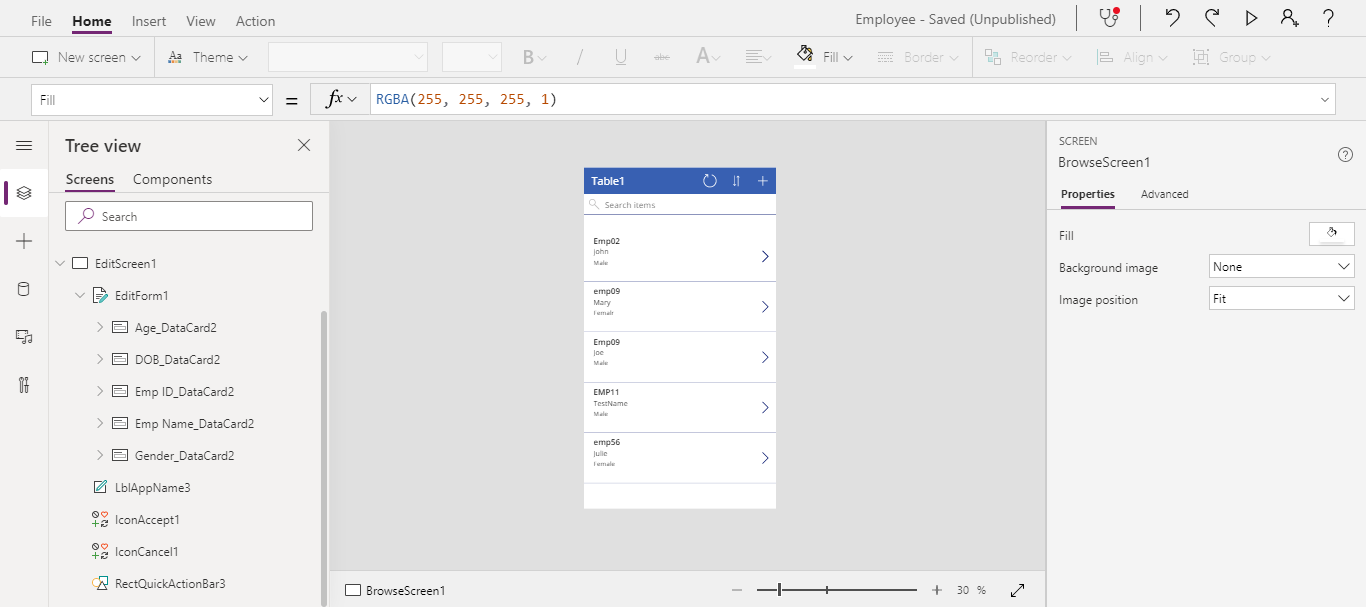
Below are the elements created inside the Screens automatically
Browse Screen:
Detail Screen:
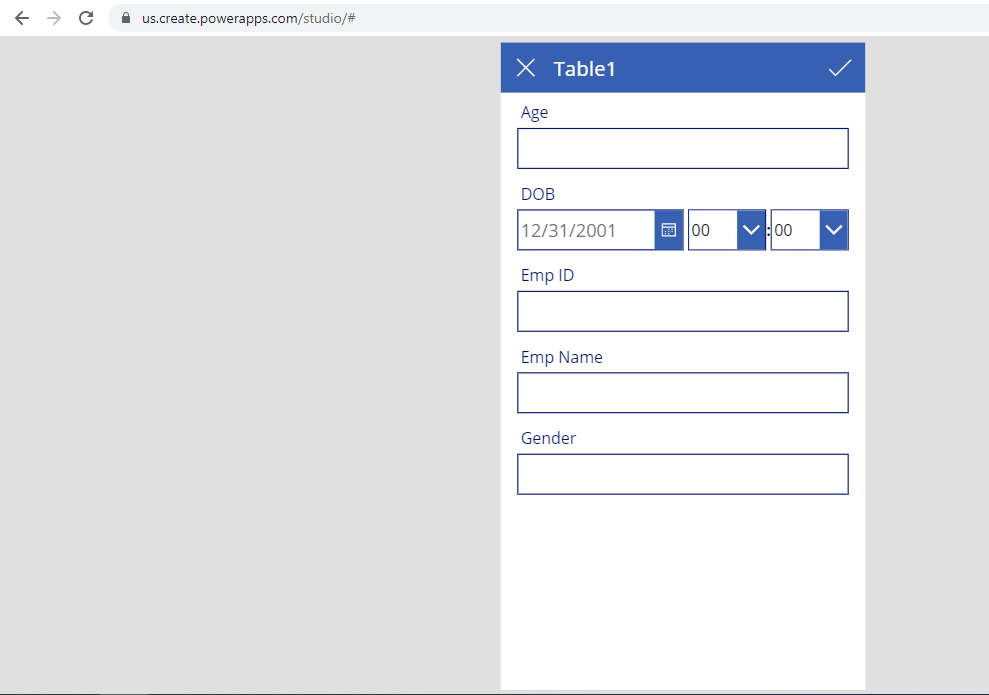
Edit Screen:
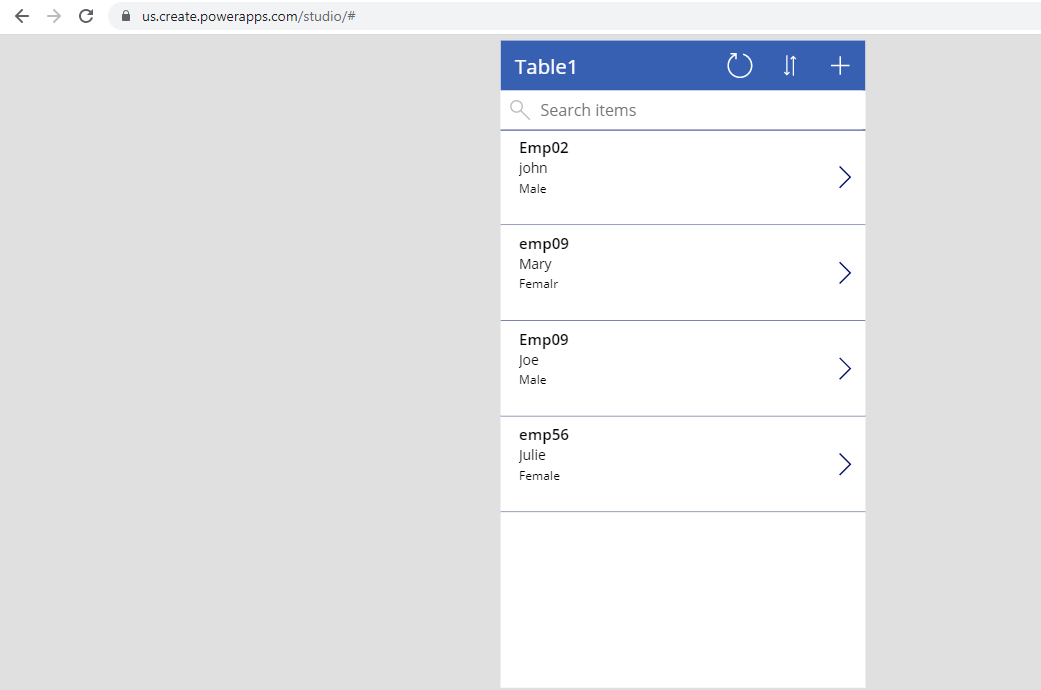
Click Preview to view the Designed App.
Click Plus button to add entry and enter the required Data.
Add Data to the Fields and save .
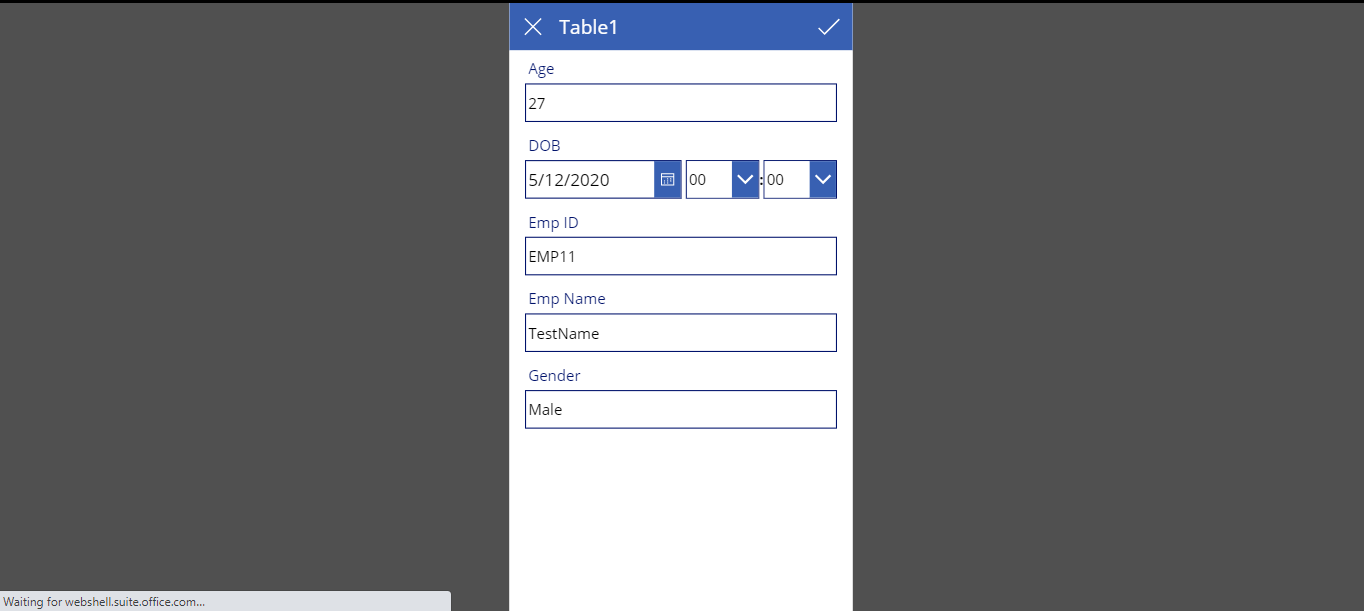
Click Save and below is the Final screen and it contains the recently added data.
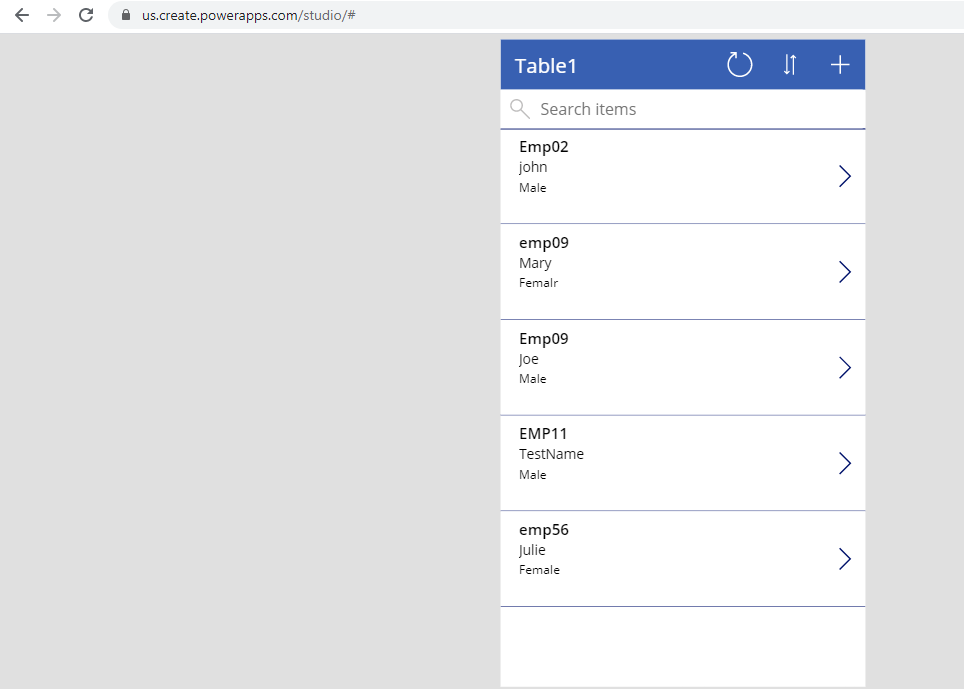
Go to the one drive file location and see the entries to check whether the write back is works or not.

Recently added Data from the Power apps is updated one drive data location.This is how the write back works .
By using Method 2,we can easily create canvas without any complications and Manual works is avoided .